Sounds difficult but actually it’s not too bad after a few hours of seemingly mindless frustration.
First, you need your old soundpost as a reference. Do you like the sound your cello already makes? If you do, then there’s not much reason why you’d be making your own soundpost beyond just wanting to experiment with a better materials – which in my case, was just using actual Italian spruce from the Val di Fiemme region (where Stradivari’s spruce/maple was said to originate from).
That was the original idea for me but I also wanted to shape the tone of the cello slightly. In a way it helps to have multiple soundposts that are sized differently as well as having their ends shaped according to the the curvature of the top and bottom bellies of the cello. Like most things in life, and if you live the life of an autodidact (I’m a closet one) you need to be come prepared. Preparation comes in the form of (i) making sure you have the right mindset (why am I doing this?), (ii) tools/equipment (I use a combination of local shops, Amazon and AliExpress, and (iii) patience and the willingness to iterate.
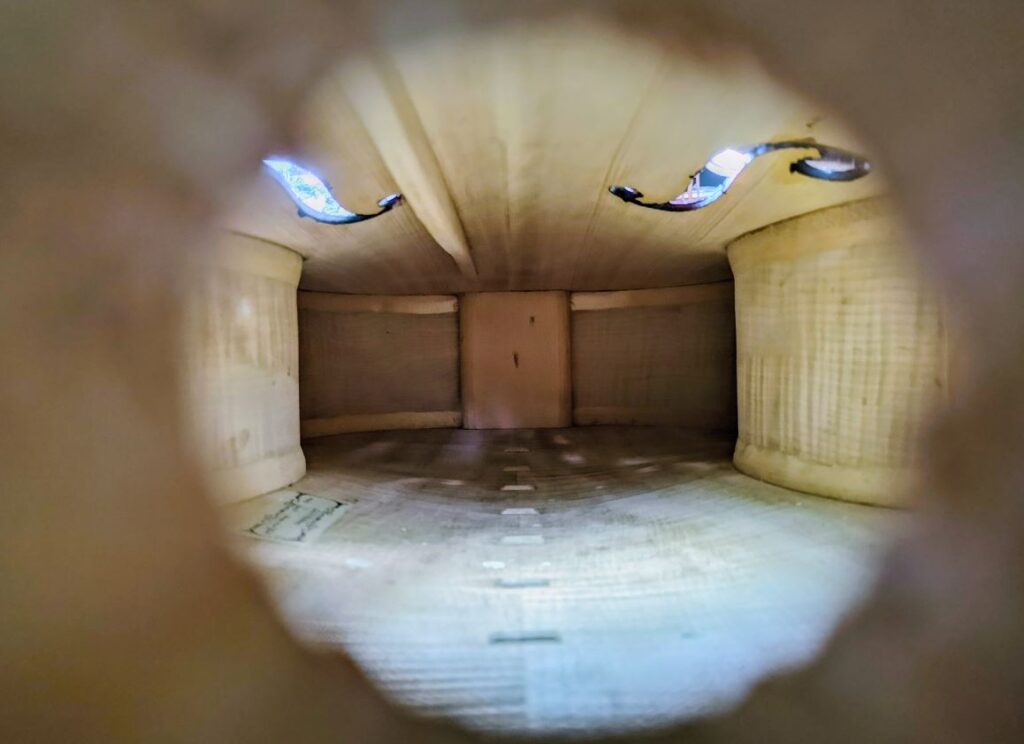
First, this is what the inside of a cello (I have 3, this is the “cheapest” one so the one I am most willing to experiment and practice my alchemy on). Plus cello downtime is a bugbear so having at least 2 allows some margin of safety in case you mess up and take longer than you had thought necessary to setup/fix your cello.
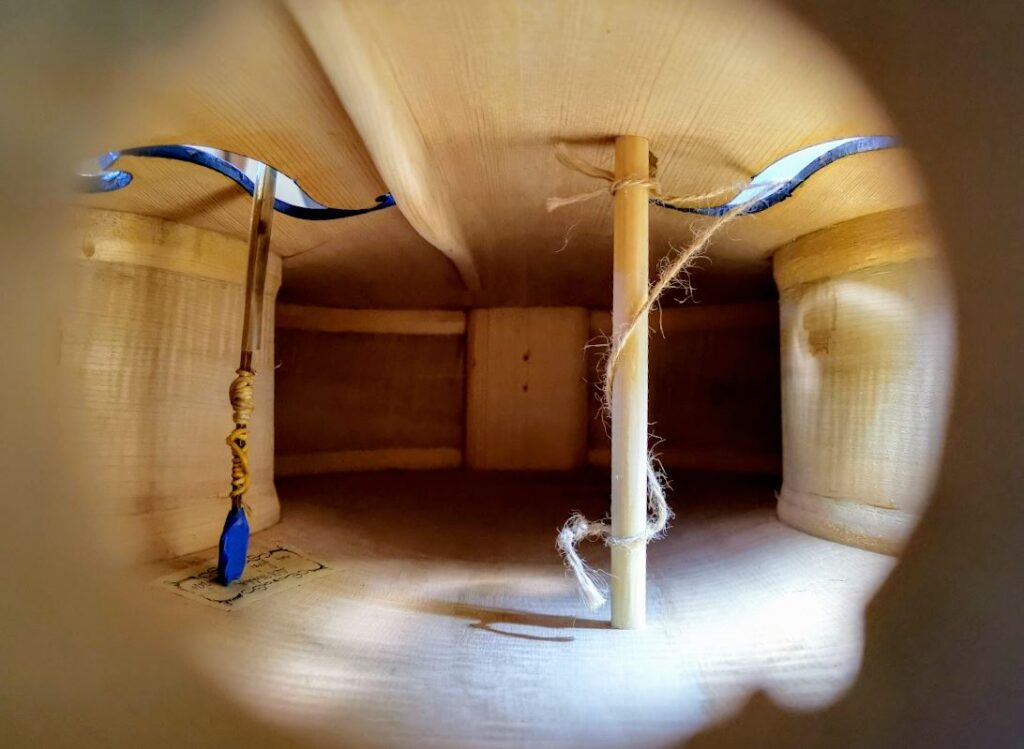
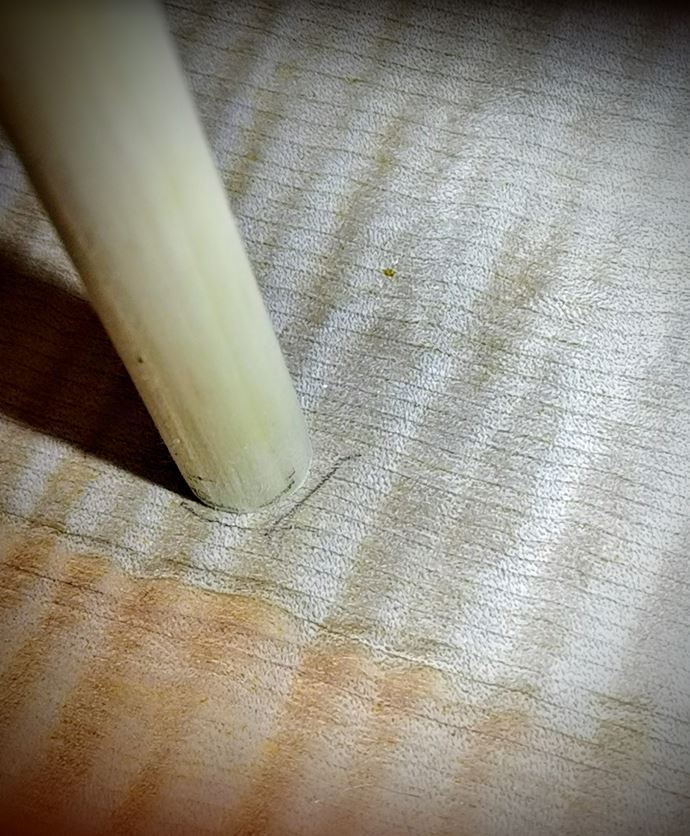
Soundpost fit is a severe test of patience – the trial-and-error is really substantial. You could get it right in an hour, or you can take a week. I am not prescriptive and make no guarantees on your level of sanity but all in all, the satisfaction is immence when you get things right. Pictures below are of the fit of the soundpost after a few hours of work – 80% of this work is mostly in getting the soundpost in the right position.
Some comments:
1. You work off 2 reference points, in this order (i) bass bar (you can’t change its location) and (ii) the bridge (I’ve also carved my own, see subsequent post). These are held as “constants” while you vary the location of the soundpost. When you vary the location of the soundpost, it also necessitates making minute adjustment at the ends of the soundpost to fit rhe cello’s curvature.
2. (Vertical location) The soundpost should be 1/2 diameter (of the soundpost) from the back of the bridge on the treble side. This means the “start” of the soundpost is approximately 5-6mm behind the foot of the bridge on the treble side (diameter of the soundpost is usually 1-12mm). Moving the soundpost away from the bridge make the tone warmer, less direct – if it’s closer to the bridge, the sound gets harsher, louder.
3. (Horizontal location) The foot of the bridge should overhang the bass bar and soundpost about 2-3mm and with the same distance inside the bridge foot as the bass bar. The assumption here being that if the soundpost is towards the treble side, it will emphasize the upper registers making them brighter. Conversely, if the soundpost is moved towards the bass, you’d get a louder lower register and a darker tone.
4. The endgrain of the soundpost is tangential (90deg) to the grain direction of the top. Why? I’m not sure – perhaps as a crack mitigator.
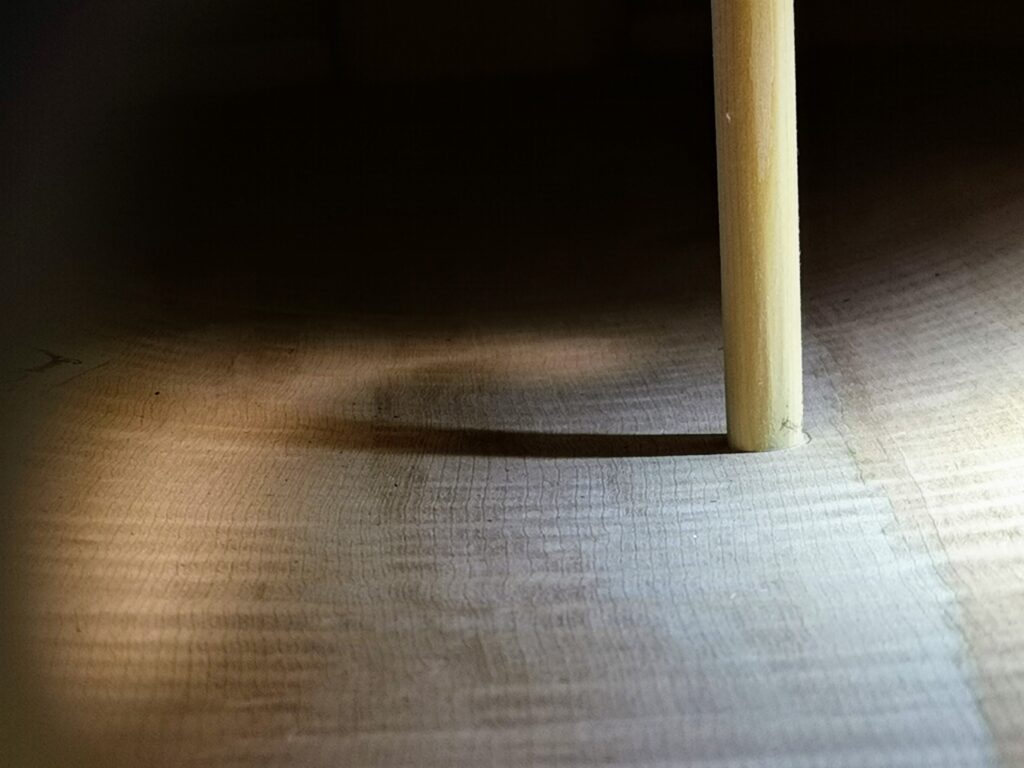
5. The fit of the soundpost is “barely” there – not too easy to knock over but the moment I pick the cello up and give it a gentle shake, it should drop. Whatever it is, the bridge needs to be above both the bass bar and the soundpost for structural integrity.
Note that horizontal/lateral movements usually require cutting a new soundpost given the curvature of the cello, whereas vertical re-positioning of the soundpost does not, unless the positional difference is too far. Hence my earlier comment that it is not too bad an idea to have multiple soundposts for different tones during string changes.
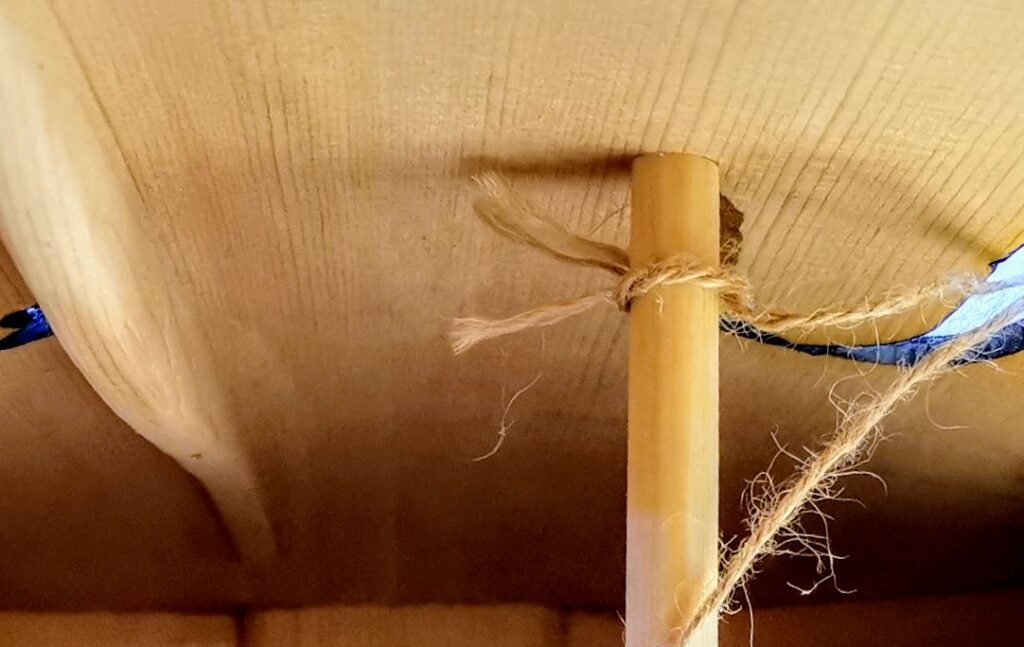
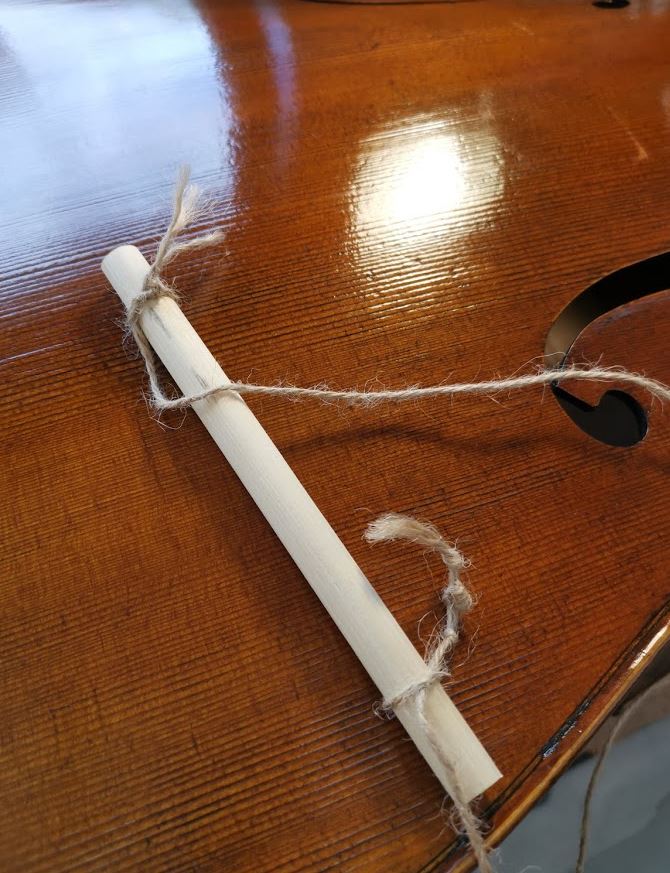
Also, all I need is a string tied to both ends of the soundpost. The purpose is two-fold. First, easy retrieval if the soundpost falls. Second reason is that it sometimes helps to pull the soundpost into place. I don’t like making marks on the soundpost when impaling the soundpost using a traditional soundpost tool. Then any fairly weighted object to knock the soundpost gently into place. I also make a line on the soundpost to give me visual cues when I knock the soundpost into place, as to the direction of orientation.